
# Project Meetings
Project Meetings can be accessed from two locations:
- Inside of the detailed project page, on the third tab
- Within their own project meeting list tab
# Location 1: On the project meeting page (opens new window)
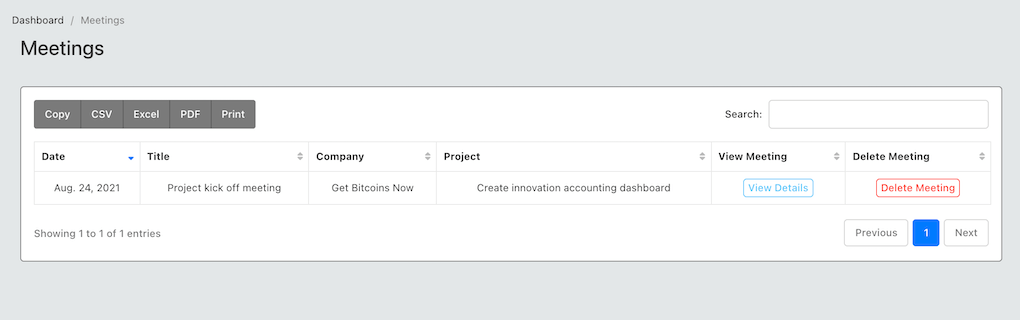
From this location, you can only view or delete a list of meetings, you cannot create a new meeting. This view is useful for querying all the meetings in a department, across all projects. You can perform searches etc from this table.
# Location 2: On the Detailed Project Page
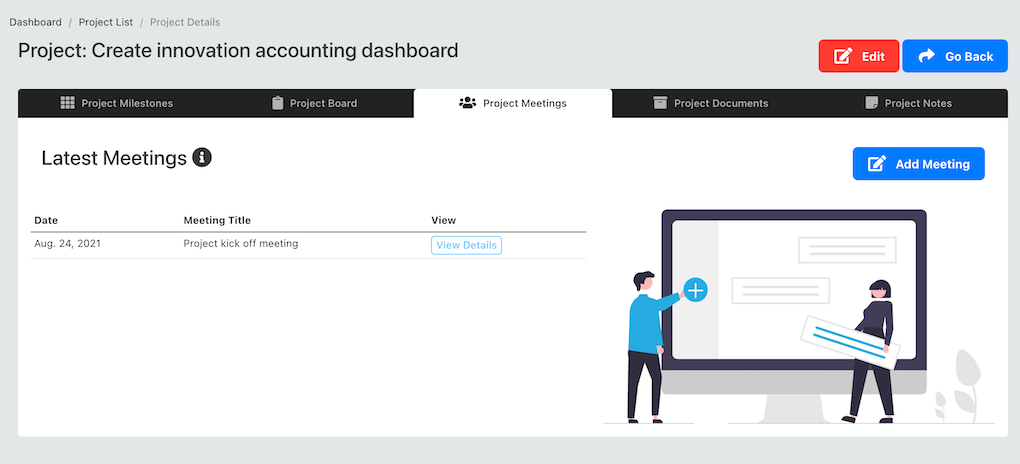
From this location you can do the following:
- Create new meeting
- Edit existing meeting details
- Delete meeting
TIP
You can only view the meetings associated with the selected project from this view. In addition when you create a new meeting here, it is automatically added to the selected project.
# Create a new meeting
To create a new meeting, from the project detailed page - navigate to the third tab (project meetings tab) and click on the "add meeting" tab.
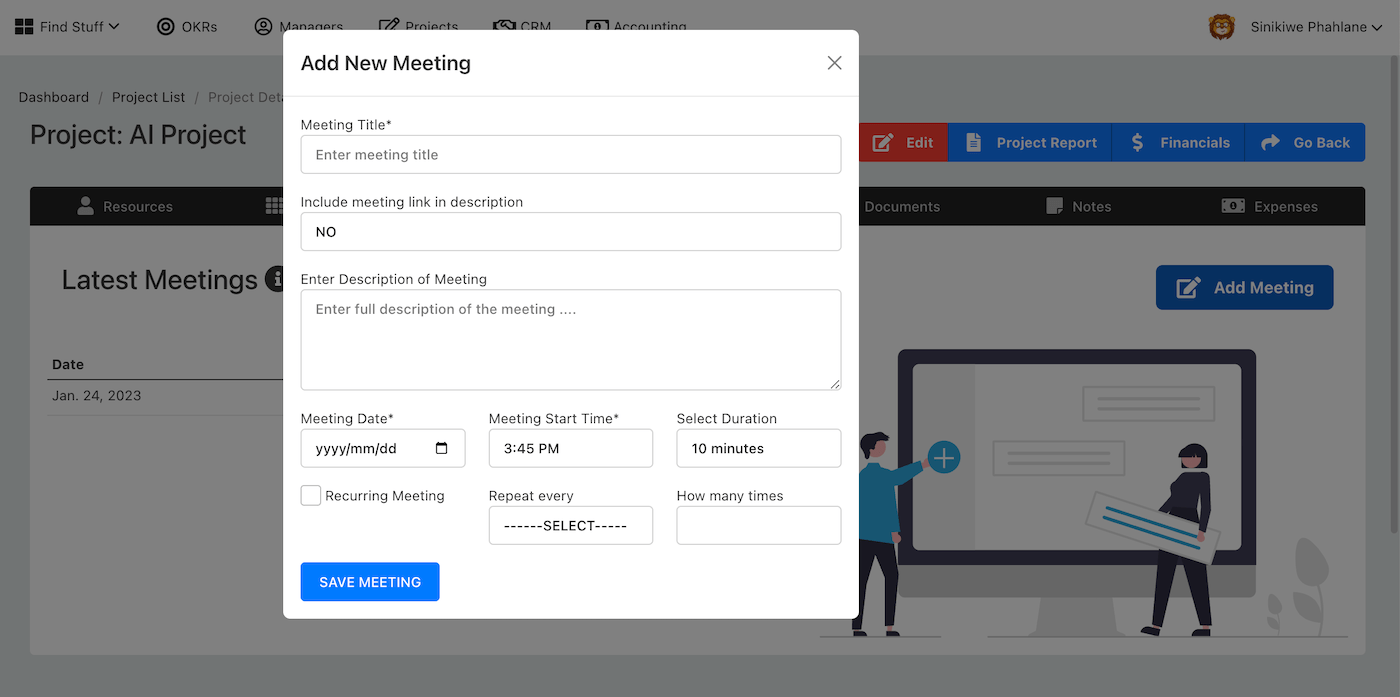
You will be required to enter the following information:
| Field |
|---|
| Title of the meeting |
| Include meeting link |
| Description of the meeting |
| Date meeting took place |
The meeting will be created, you can then access the meeting page, by clicking on the "view details" on the meeting row.
# Meeting Details
The meeting detailed page has the following additional data sets:
- Meeting action points
- Meeting attendees
- Ability to send invites to attendees
- Ability to edit meeting details
Over and above the information you have already entered when creating the meeting.
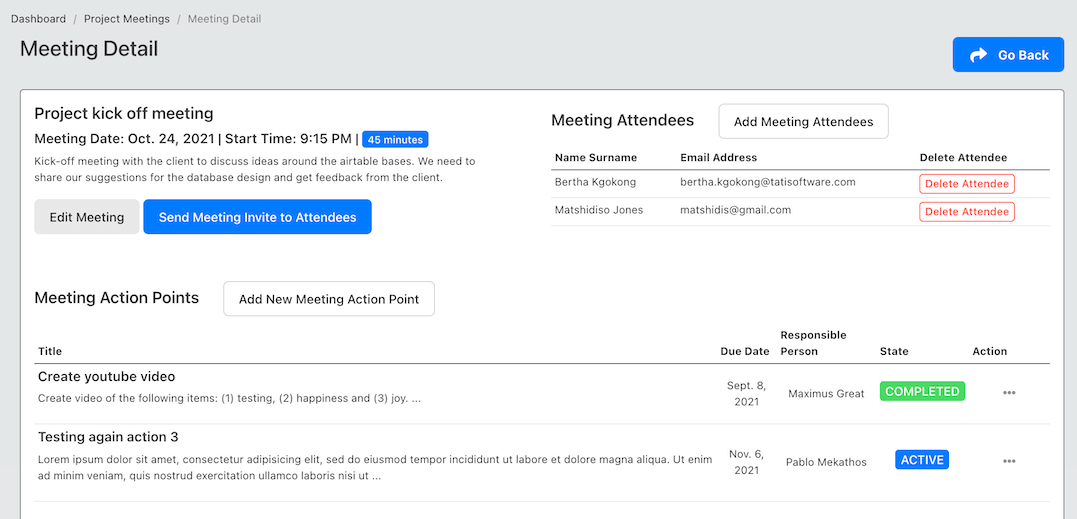
Meeting actions:
- Email minutes of meeting
- View minutes of meeting
You can add meeting action points and attendees as required.
TIP
When you add meeting attendees, they will receive a copy of the minutes of email when you send it out.
# Adding Meeting Attendee
Add meeting attendees to record all the people that were present in the meeting. Click on the "add meeting attendees" button and a pop up form will appear that you can complete.
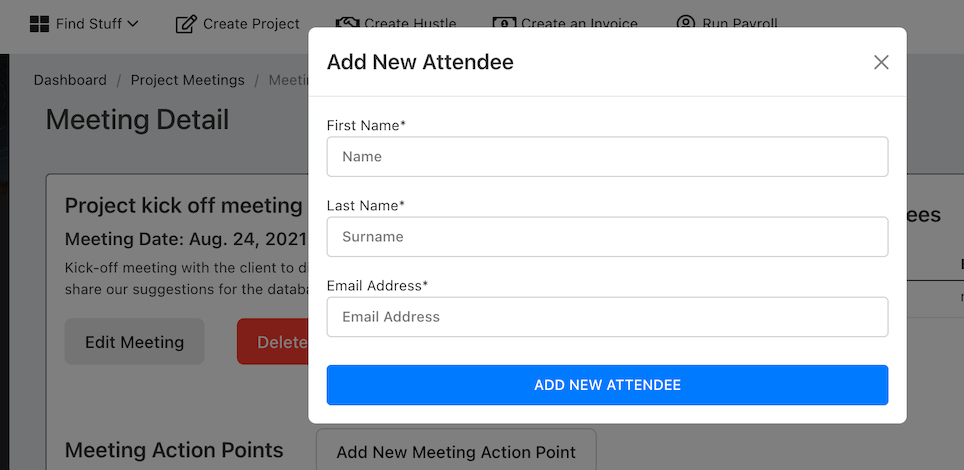
Enter the following information:
| Form Fields |
|---|
| First Name |
| Last Name |
| Email Address |
Meeting attendees do not need to be from the same organisation, this is why they can be added manually, however they will receive an email with the minutes when they are sent out.
# Invite Meeting Attendees
You need to follow the step above to add attendees, before you can send them meeting invites. Ensure that the email address added above are correct, as an automatic email will be sent to the attendees with the meeting invite attached.
Click the "send meeting invite to attendees button" and you will see this:

Select your timezone and send, invites will go out to all attendees.
# Add Meeting Action
Meeting actions record all the decisions made in a meeting that require action to be taken. To add a new action, click on the "add meeting action point" button and a pop-up form will appear that you can complete.
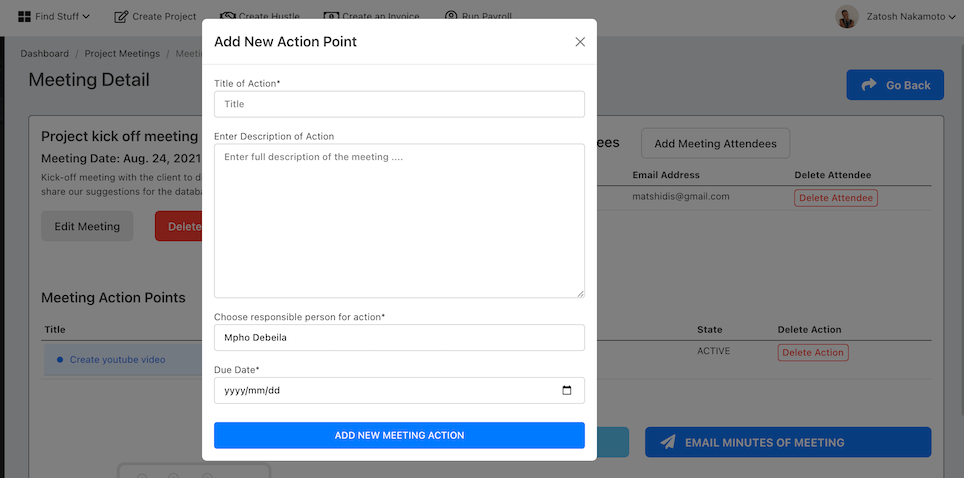
Enter the following information:
| Form Fields |
|---|
| Title of Action Point |
| description of action point |
| Person responsible for completing the action |
| Due date for the action |
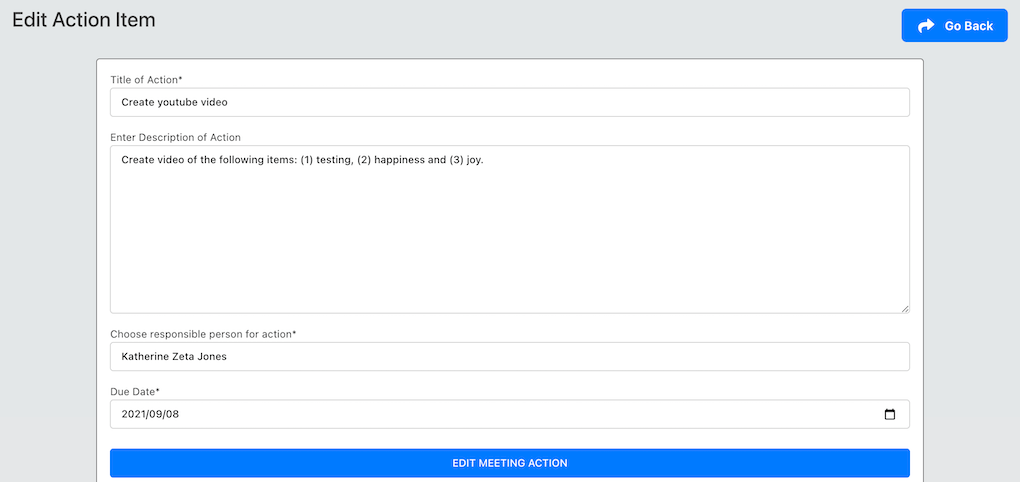
# Edit Meeting Action
You can also edit the details of an action that has already been created. Find the action item on the "action items list" and go the the last column called "action", click on the space and open a dropdown menu, and select "edit".
You will see this page below, where you can save and edit your action.
# What is next
When you are done with the meeting, you can either email the minutes or view them on the screen as a pdf. Use the buttons at the bottom for the actions.
TIP
Try hosting a meeting and typing in the actions, during the meeting and immediately email the minutes when the meeting is over.
Note meetings can also be viewed directly from the meetings app (opens new window).